DVLOP – SHORTSTACHE – STORYTELLERS WORKSHOP

This workshop is for anyone and everyone. Whether you’re just starting out or looking to land that next client, my in-the-field process will help you to take your work to the next level. With over 3 hours of instructional videos, you will be walked through several scenarios that are carefully broken down to demonstrate how I approach telling each story.

This workshop shows the organic and raw side of storytelling that highlights the normal. This is real. This is what it’s all about. This is not some escape to a magical country, nor is it on a yacht somewhere put together. Every scenario is in everyday realistic situations. This is the core of photography and how to tackle your game plan and execute. This workshop is for you.

INCLUDES OVER 3 HOURS OF INSTRUCTIONAL VIDEOS

INTRO & GEAR BREAKDOWN VIDEO
What’s in my bag and why

4 IN THE FIELD VIDEOS
Story breakdowns in different scenarios

4 OVERVIEW VIDEOS
Recaps with finished photo walkthroughs

WORKSHOP VIDEOS:

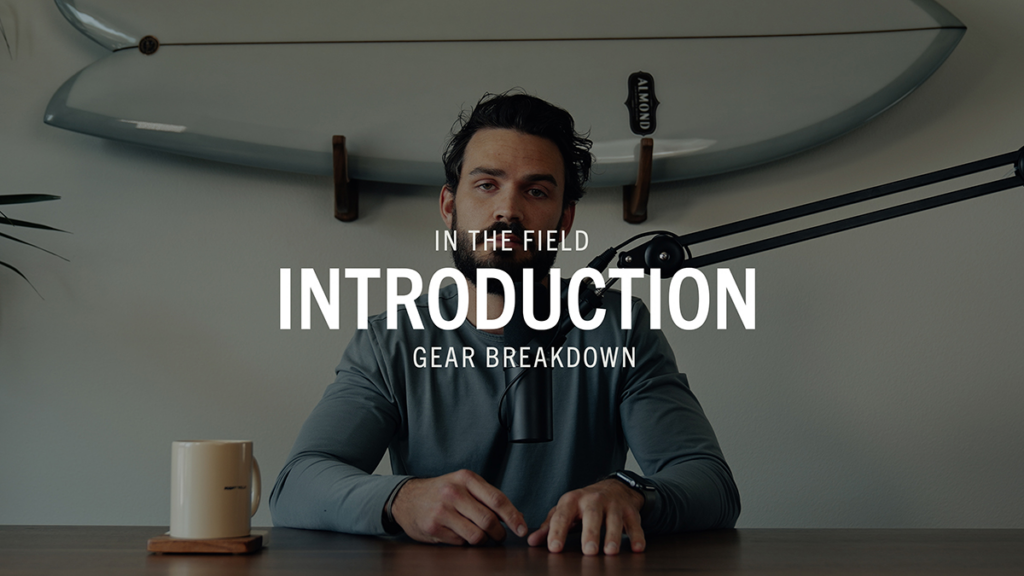
INTRODUCTION – GEAR BREAKDOWN

This video introduces the workshop and why it was created. I walk through the gear I use, why I use it and the mindset that goes into pre-planning a shoot.

BUILD THE STORY

We break down the simple story of a sunset cruise to the ocean to catch one last surf session. Though it’s a simple story, it needs to be developed and set into motion to help convey that message. Follow along to see how to build it.
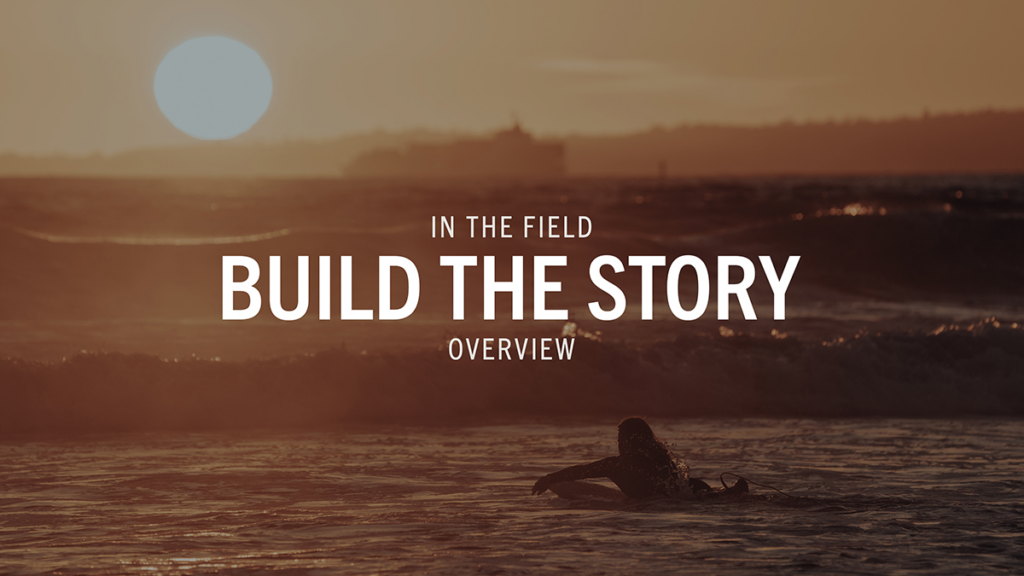
BUILD THE STORY – OVERVIEW

This is the recap and everything that we learned from Build The Story. We go over key points, takeaways, and go through some of my favorite shots edited with my Past & Present Pack.
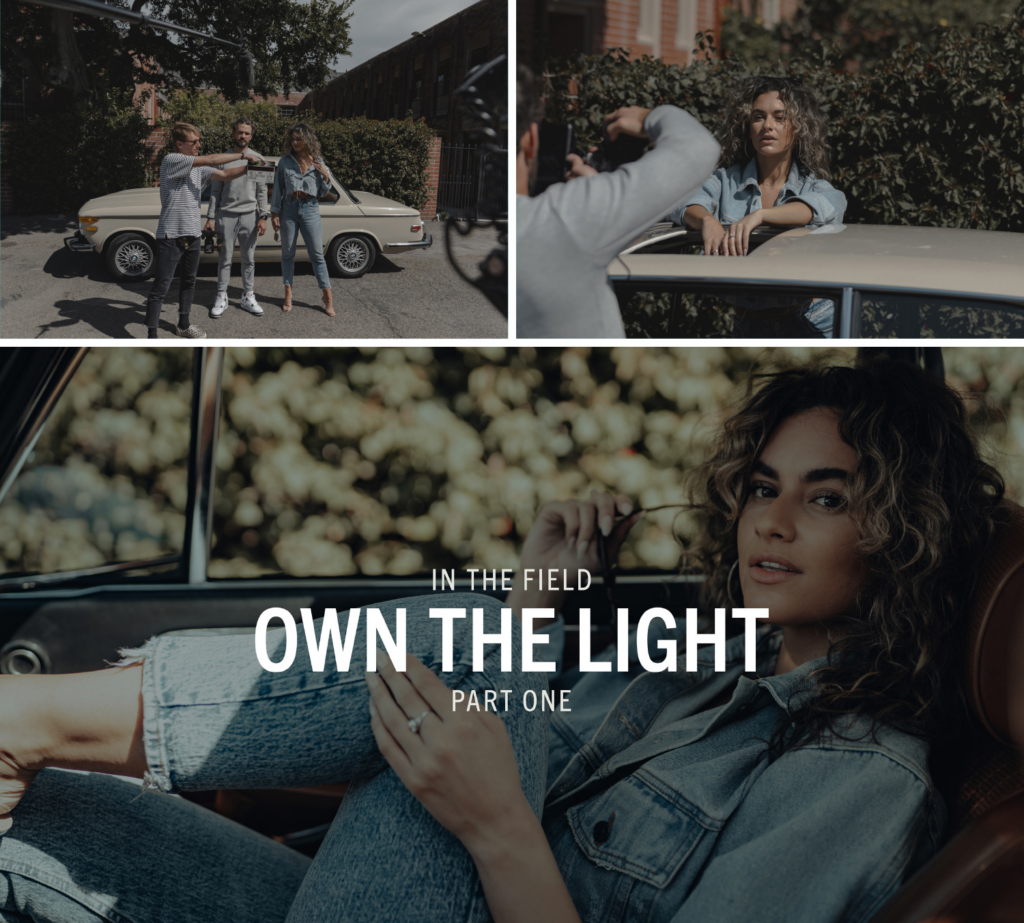
OWN THE LIGHT – PART I

We show the ins and outs of how to accomplish a midday harsh light shoot with the model. This shows the flexibility and the versatility of capitalizing light.
Shortstache Co. Garrett King

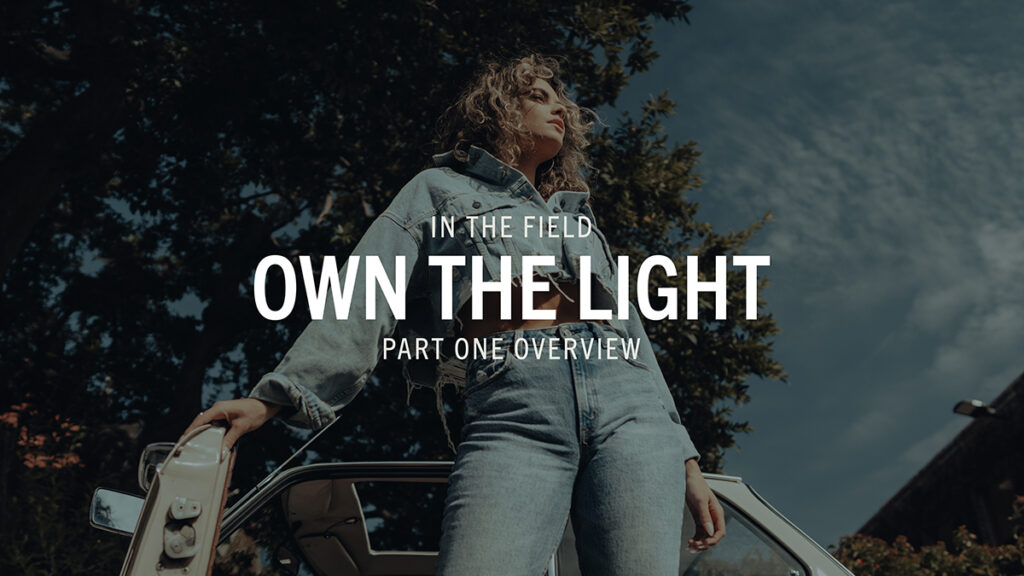
OWN THE LIGHT – PART I – OVERVIEW

This is the recap and everything we learned from part one of Own The Light. We review the key points, takeaways, and walk through some of my favorite shots edited with my Past & Present Pack.

OWN THE LIGHT – PART II

This video shows the process of taking advantage of late afternoon light through golden hour and beyond. We learn abstract and conceptual approaches with the model.
Shortstache Co. Garrett King

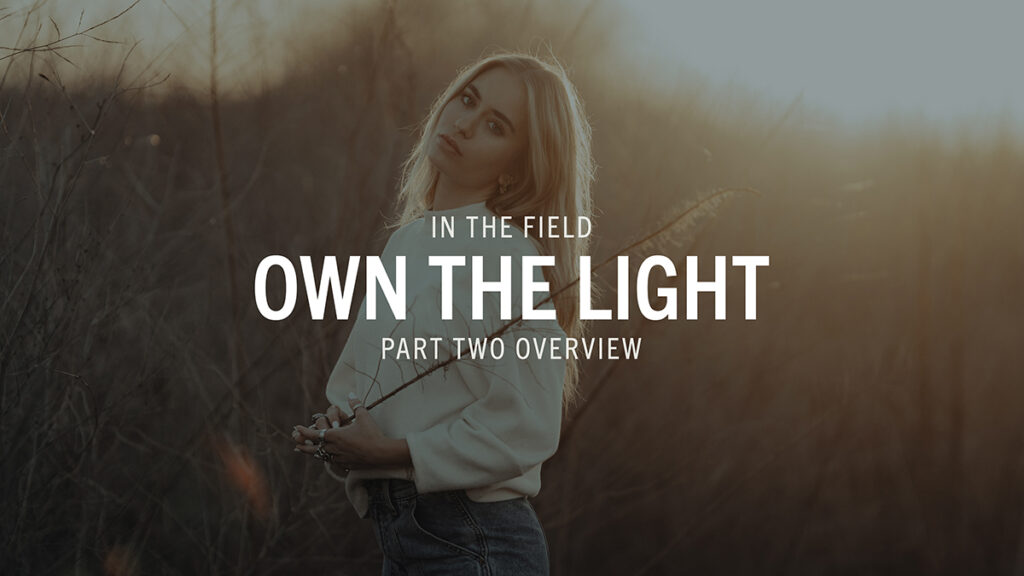
OWN THE LIGHT – PART II – OVERVIEW

This is the recap and everything we learned from part two of Own The Light. We review the key points, takeaways, and walk through some of my favorite shots edited with my Past & Present Pack.
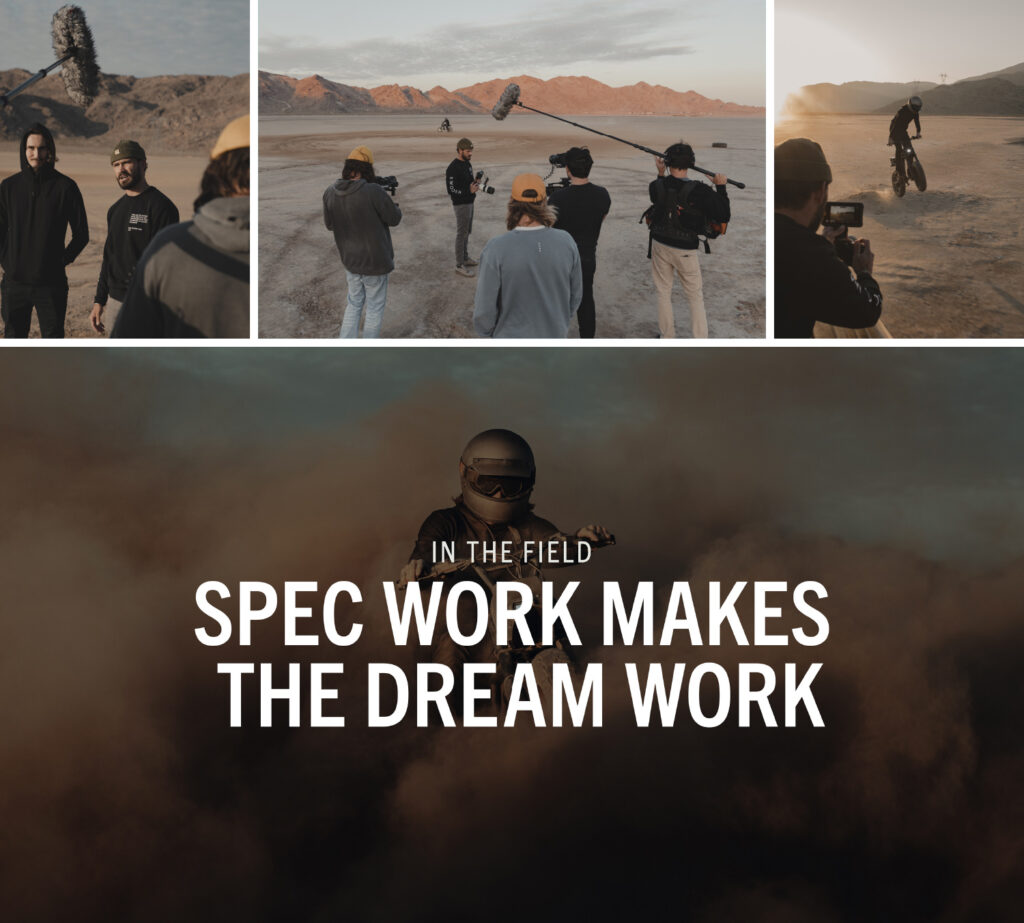
SPEC WORK MAKES THE DREAM WORK

We break down the process of shooting for a potential client, and we lay out what the spec work might look like. This video dives into several different methods of movement and the importance of switching it up.

Shortstache Co. Garrett King

SPEC WORK MAKES THE DREAM WORK – OVERVIEW

This is the recap and everything we learned from Spec Work Makes The Dream Work. We review the key points, takeaways, and walk through some of my favorite shots edited with my Past & Present Pack.

Source Url:

   https://dvlop.com/shop/shortstache/storytellers

Photographer:

   DVLOP

DownLoad Link

DVLOP – The Kitcheners – New Emotive Lightroom Preset Pack

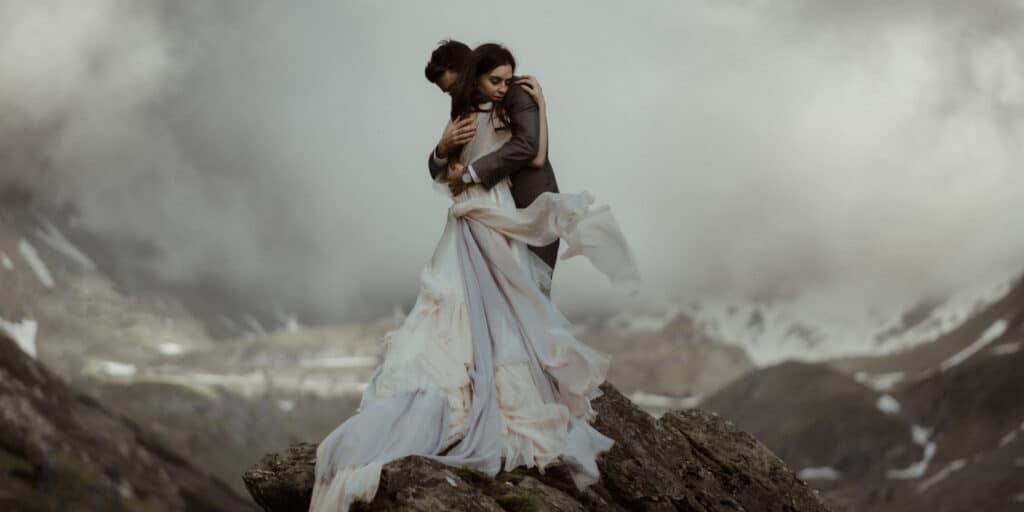
The Kitcheners are a wedding photography duo based out of Scotland, United Kingdom that travel the globe documenting weddings and people in love. Combining their love for cinema and evocative fine art photography, they’re passionate about real emotion, honest moments and capturing how it all really felt. Awarded ‘One Of The Top 3 Wedding Photographers In Europe’ for 3 years in a row, they are highly regarded for their unique cinematic style.

Emotive Lightroom Preset Pack is the result of a passion for cinema and a relentless pursuit for that one consistent look. It has evolved with a balanced and dynamic style in mind that can be adapted across all lighting conditions throughout the wedding day. Powered with the DVLOP Dual Illuminant camera profiles, Emotive is optimised for all major supported camera systems.

SUPPORTED SOFTWARE

• Adobe® Lightroom® 4 or later
• Adobe® Camera Raw 10.3 or later
• Adobe® Lightroom® CC Desktop 1.4 or later and Mobile

kitcheners-logo-300
the kitcheners

• Color preset + 11 Color Modifiers
• Mono preset + 7 Mono Modifiers
• Modern, natural and timeles
• Adaptable for all lighting conditions on the wedding day
• Dual Illuminant camera profiles (LR Classic and ACR only)
• ISO Adaptive Presets (LR Classic 9.3 or later)

Source Url:

   https://dvlop.com/shop/the-kitcheners/

Photographer:

   DVLOP

DownLoad Link

Buttery LUTs – NATURAL Rec709 – Sony Alpha (A7IV, A7S III, A7S II, A7III, A7R III, A7R II) | FS5/7 | RX | ZV-1 | FX9 | FX3/FX6/FX30/ZV-E1 – SLog2/3

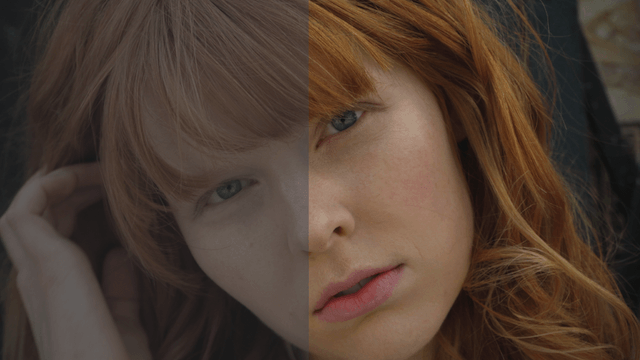
Get the most natural colors out of your Sony Alpha Series (including the A7S III and A7IV), FS5, FX3, FX6, FX30, FS7, RX series, ZV1 and ZV-E1. Our Natural Rec 709 LUT for these popular Sony cameras gives you better colors, smoother highlights roll-off, more natural skin tones and overall a better dynamic range when compared to manufacturer one. Perfect for color grading and monitoring. The package also includes 4 different variations of the Natural Rec709 with more and less contrast, so you can pick the one you like better for monitoring or starting your grade.

Source Url:

   https://www.butteryluts.com/buttery-luts/p/sony-natural

Photographer:

   BUTTERY LUTs

DownLoad Link

Buttery LUTs – NATURAL Rec709 + Creative LUTs – URSA Mini Pro (G1/G2/12K) (44 LUTs) – Gen4/Gen5

This package includes our Natural REC709 LUT (and its 4 variations) and 17 creative LUTs to stylize your Ursa Mini Pro (G1, G2 and 12K) footage. Our creative LUTs are inspired by some of the top high end commercials and they include 17 different and unique looks (BUTTERY Eterna, B&W, Tobacco filter, Crunchy Gold, Day X Night and many more). The creative LUTs are not recommended for monitoring since they are made to stylize your footage, but we still used our incredibly accurate Natural Rec709 as a starting point, so even if they are a little bit pushy, they still retain a lot of information in the highlights, shadows and skin tones. These LUTs work with both ProRes and BRAW codecs.

In this package you will find the LUTs for both Gen4 and Gen5 color science.

HOW TO USE BUTTERY LUTs:

The workflow is extremely simple: first of all, you need to shoot LOG and LOG only. In your editing or color grading software just apply the LUT to your footage and do the basic adjustments such as exposure, contrast, WB or tint as you like. That simple. Our LUTs work in every single lighting situation, at any ISO. Yep, just one LUT!

All LUTs are also fully compatible with the original Ursa Mini, ONLY WHEN YOU SHOOT RAW. Just switch from color science v1 to v4 in the RAW settings of DaVinci Resolve, apply the Natural Rec709 LUT and do your basic adjustments.

Our LUTs are compatible with any software that support .cube files, such as DaVinci Resolve, Premiere Pro and Final Cut X.

Check out this tutorial to see how to use the BUTTERY LUTs!

NOTE: Blackmagic adds a +10 TINT when you set your WB on daylight. We recommend to set it to ZERO and adjust it in post. Keep in mind this is a starting point and your TINT should be adjusted depending on the situation you are filming in. All our LUTs work on both ProRes and RAW files.

Source Url:

   https://www.butteryluts.com/buttery-luts/p/ursamini-creative

Photographer:

   BUTTERY LUTs

DownLoad Link

Gdrive DownLoad

Buttery LUTs – NATURAL Rec709 + Creative LUTs – RED IPP2 (DSMC2, Komodo) (22 LUTs)

This package includes our Natural REC709 LUT (and its 4 variations) and 17 creative LUTs to stylize your RED footage. Our creative LUTs are inspired by some of the top high end commercials and they include 17 different and unique looks (BUTTERY Eterna, B&W, Tobacco filter, Crunchy Gold, Day X Night and many more). The creative LUTs are not recommended for monitoring since they are made to stylize your footage, but we still used our incredibly accurate Natural Rec709 as a starting point, so even if they are a little bit pushy, they still retain a lot of information in the highlights, shadows and skin tones. These LUTs only work with IPP2 Log310 footage and they are compatible with all DSMC2 cameras, as well as the Komodo.

HOW TO USE BUTTERY LUTs:

The workflow is extremely simple: first of all, you need to shoot LOG and LOG only. In your editing or color grading software just apply the LUT to your footage and do the basic adjustments such as exposure, contrast, WB or tint as you like. That simple.

Our LUTs work in every single lighting situation, at any ISO. Yep, just one LUT! Our LUTs are compatible with any software that support .cube files, such as DaVinci Resolve, Premiere Pro and Final Cut X.

Check out this tutorial to see how to use the BUTTERY LUTs!

Source Url:

   https://www.butteryluts.com/buttery-luts/p/red-creative

Photographer:

   BUTTERY LUTs

DownLoad Link

Gdrive DownLoad

Buttery LUTs – NATURAL Rec709 + Creative LUTs – BMPCC/BMPCC4K/BMPCC6K/Pro/BMCC6K Full Frame – Gen4/Gen5 (44 LUTs)

This package includes our Natural REC709 LUT (and its 4 variations) and 17 creative looks to stylize your BMPCC4K/6K/Pro footage. Our creative LUTs are inspired by some of the top high end commercials and they include 17 different and unique looks (Eterna inspired BUTTERY LUT, B&W, Tobacco filter, Crunchy Gold, Day X Night and many more). The creative LUTs are not recommended for monitoring since they are made to stylize your footage, but we still used our incredibly accurate Natural Rec709 as a starting point, so even if they are a little bit pushy, they still retain a lot of information in the highlights, shadows and skin tones. These LUTs work with both ProRes and BRAW codecs.

In this package you will find the LUTs for both Gen4 and Gen5 color science.

HOW TO USE BUTTERY LUTs:

The workflow is extremely simple: first of all, you need to shoot LOG and LOG only. In your editing or color grading software just apply the LUT to your footage and do the basic adjustments such as exposure, contrast, WB or tint as you like. That simple. Our LUTs work in every single lighting situation, at any ISO. Yep, just one LUT!

All LUTs are also fully compatible with the original BMPCC, ONLY WHEN YOU SHOOT RAW. Just switch from color science v1 to v4 in the RAW settings of DaVinci Resolve, apply the Natural Rec709 LUT and do your basic adjustments.

Our LUTs are compatible with any software that support .cube files, such as DaVinci Resolve, Premiere Pro and Final Cut X.

Check out this tutorial to see how to use the BUTTERY LUTs!

NOTE: Blackmagic adds a +10 TINT when you set your WB on daylight. We recommend to set it to ZERO and adjust it in post. Keep in mind this is a starting point and your TINT should be adjusted depending on the situation you are filming in. All our LUTs work on both ProRes and RAW files.

Source Url:

   https://www.butteryluts.com/buttery-luts/p/bmpcc-creative

Photographer:

   BUTTERY LUTs

DownLoad Link

Gdrive DownLoad

Gamut – Sony BaseLUTs for S-Log3 / S-Log2

We developed our own custom Sony S-Log3 and S-Log2 Conversion LUTs that have great retention in the highlights, well balanced saturation levels, and an accurate colorimetry response for consistent results no matter what lighting environment you are in.  These will be your new favorite go-to Conversion LUTs!

TECH SPECS

Compatible with the following software:

  • Adobe Premiere Pro
  • Final Cut Pro
  • DaVinci Resolve
  • (any software that can load a LUT)

3D LUT in .cube format in 33x size

CAMERAS

Compatible with Sony Cameras shooting in S-Log3 and S-Log2:

  • SONY Alpha Series: A7SIII, A7SII, A7III
  • If your camera isn’t listed, it still may be compatible. We have currently only tested on cameras listed above.

Camera Settings for S-Log3:

  • S-Log3 with S-Gamut3.Cine

Camera Settings for S-Log2:

  • S-Log2 with S-Gamut

For more information on camera profiles we recommend and a full camera compatibility list, please check out this link: Recommended Camera Profile Settings

WHAT’S INCLUDED

Upon purchase, you will receive an instant download of the LUT file that you can use in any Software that recognizes .cube files.

This pack consists of:
(1x) S-Log3 Conversion LUT
(1x) S-Log2 Conversion LUT

When you checkout, you can create a login account so you can access all your download links. You will get access to all future updates as well as any additional LUTs that are added to this pack as they get released. If you experience any issues with the LUTs you can email us by visiting our Support page.

Version History and Updates:

Version 1.1 – October 5, 2022

  • Renamed the Conversion LUTs to be in sync with our new BaseLUTs packs.
  • BaseLUTs – Sony S-Log3 Conversion LUT is now better suited for filming with a gray card closer to 42 on the IRE scale whereas the original Conversion LUT was targeted closer to 50 IRE.
  • BaseLUTs – Sony S-Log2 Conversion LUT is best suited for filming with a gray card closer to 45 on the IRE scale as the noise in the shadows are more apparent. Over-expose by 0.5-1 stops and then apply the BaseLUT conversion which will bring middle gray back down to 42 on the IRE scale.
  • Fixed an issue where certain yellow hues were leaning more green. It is now dialed in.
  • Skin-tones are improved and have less green cast to them in certain scenarios.

Version 1.0 – February 26, 2021

  • Product Launch.

Learn More

  • Skin TonesGet a clean skin tone balance that is not too yellow that other LUTs sometimes produce.
  • HighlightsYou will get pleasing highlight roll-off as well as maximum highlight retention without losing information.
  • EnvironmentWhether you are filming in natural light or at a venue where the lights have strong saturation levels, this LUT will handle it all with ease.

Should I Film in Log?

When filming in a LOG profile, you will notice a very flat looking image. Filming in LOG allows more information to be captured by the camera and can give stunning results when properly graded and adjusted in post. However, it can be difficult to expose properly or nail white balance every time. You want the colors you see when filming to be the colors you see when grading. That is where the Gamut Conversion LUTs come in. If you have a monitor, you can load these Conversion LUTs and view your footage in real-time when filming and know that you are exposing properly and see a properly adjusted image.  So grab these LUTs and you will be set when filming and grading.

Sony Camera Settings

When filming in S-Log, use these settings for optimal results:

S-Log3 / S-Gamut3.Cine in 10bit
S-Log2 / S-Gamut

On the Sony A7SIII, you can use the default settings of PP8 for S-Log3 and PP7 for S-Log2. On other cameras, the PP settings might be different. Just make sure and use the correct Gamma and Color Modes as described above. *Note: When filming with S-Log3 or S-Log2 in 8bit, you may see issues with banding or slight color fringing because of the lack of data available in 8bit to properly showcase the color transitions. This is not an issue with the LUT but an issue with filming in 8bit. Optimal results will be showcased when filming in 10bit.

Why Default Sony LUTs Fall Short

When comparing Sony’s default LUTs to our Gamut conversion LUTs, you can see that the colors and dynamic range do not hold up well. We optimize the skin tones to reflect the accurate colors they should be. You will get richer truer colors and less magenta in the shadows. Also, we have dialed in our highlights to retain better information so that you can maximize the dynamic range of your footage without losing that extra data when grading. Overall, you will get better results when using Gamut Conversion LUTs than the default camera manufacturer LUTs.

Base Conversion for Commercial Projects

Because the colors in these conversion LUTs are properly adjusted to reflect the colors that you see in real life, you can keep brand colors dialed in as they were intended on set. Some LUTs push colors a little different in post and can cause more work fixing the hues of those colors. When filming with a color checker chart, you will see that these LUTs fix a lot of the colors shifts to be properly adjusted and corrected. You can trust that you will get a great looking image once you add our conversion LUT to your footage. (As long as you have dialed in proper exposure and white balance.)

Works with All Gamut LUTs

Want to use our other Gamut creative LUT packs like Dolce on top of this conversion LUT,  then you don’t have to worry. These LUTs are optimized for ALL our Gamut packs so you can get the foundational conversion LUT added before adding the other LUTs on top. We just recommend keeping the creative LUT’s dialed to 50% or less intensity for the best results. It’s important to not “bake” our creative LUTs into a LOG version so that you can dial the look yourself to taste for the most flexibility.

Source Url:

   https://gamut.io/product/sony-conversion-luts-for-slog2-slog3/

Photographer:

   Gamut

DownLoad Link

Matt Johnson – WhoisMatt LUTs

Color Grading, Simplified

This set of 12 video presets will speed up your color grading workflow and enable you to create films with vivid, realistic colors. With a focus on enhancing natural skin tones while keeping greens from overwhelming the image, you can expect beautiful color rendition and image quality.

Each LUT has been tested on footage from all major camera brands to ensure consistency, including the latest camera models like the Sony a7s III, Canon R5, and Panasonic S5 II.

WhoisMatt LUTs – Easily Get Vibrant, True To Life Film Colors

WhoisMatt 01

The original look that started it all. With a warm, vibrant palette that prioritizes skin tones, this LUT gives you exactly what you need to make your colors stand out.

WhoisMatt 02

Stepping back from the intensity of WhoisMatt 01, this LUT provides a subtle richness of color with a softer contrast and saturation. 

This LUT is perfect for giving your footage a moodier look. 

WhoisMatt 03

The most vibrant LUT in this pack, WhoisMatt 03 adds punch to contrast and saturation without oversaturating your image or overexposing highlights.

WhoisMatt 04

With a desaturation applied to the greens, skin tones will pop from the background, making for a beautiful image that is unique.

WhoisMatt 04 works exceptionally well with outdoor footage such an elopement wedding film.

WhoisMatt 05

When I visited Iceland I was amazed how sunsets lasted for hours. This LUT is my attempt to capture the high contrast and warm colors of those sunsets, no matter the time of day. 

By mixing natural highlight colors with a bit of desaturation to the greens, you’ll make any video feel like an Iceland sunset.

WhoisMatt 06

If WhoisMatt 05 is sunset, WhoisMatt 06 is the blue hour that comes after. Cooler shadows really make skin tones pop with this LUT. 

Source Url:

   https://courses.whoismatt.com/luts

Photographer:

   Matt Johnson

DownLoad Link

Care4Art Snow

The details

WHAT’S INSIDE?

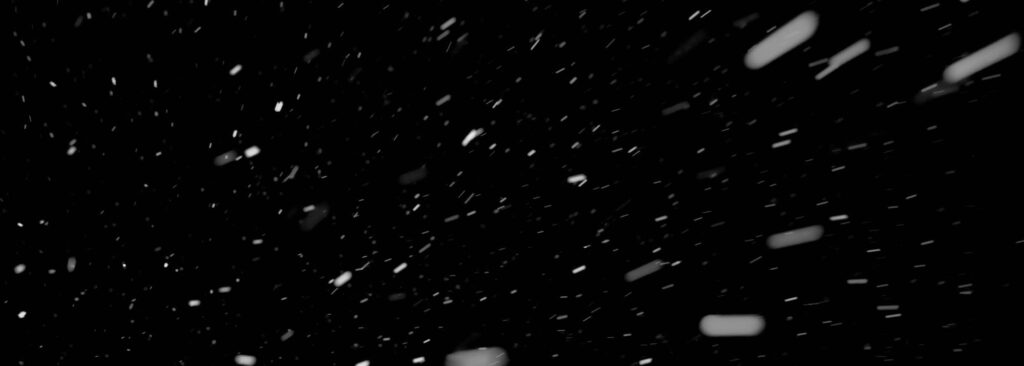
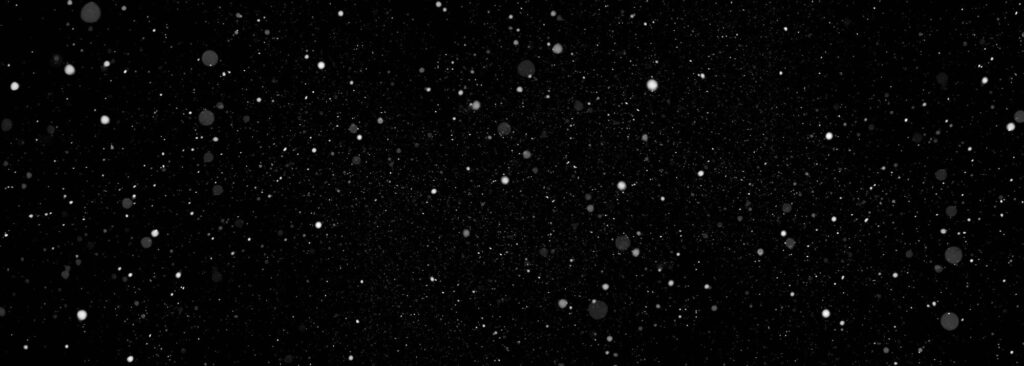
• Optically captured regular light snow

• Optically captured regular heavy snow

• Optically captured rapid snow

• Optically captured stylized snow

SPECIFICATIONS

• 59 super high-res jpeg overlays (up to 9000px)

• 59 high res Photoshop Brushes (up to 5000px)

• Compatible with Photoshop & Affinity Photo

• Download size: 625mb

EXTRAS

• 3 video tutorials

• Photoshop Action for best looking results

• Installation Guide for Photoshop (PDF)

Through the different categories of snow

What is SNOW?

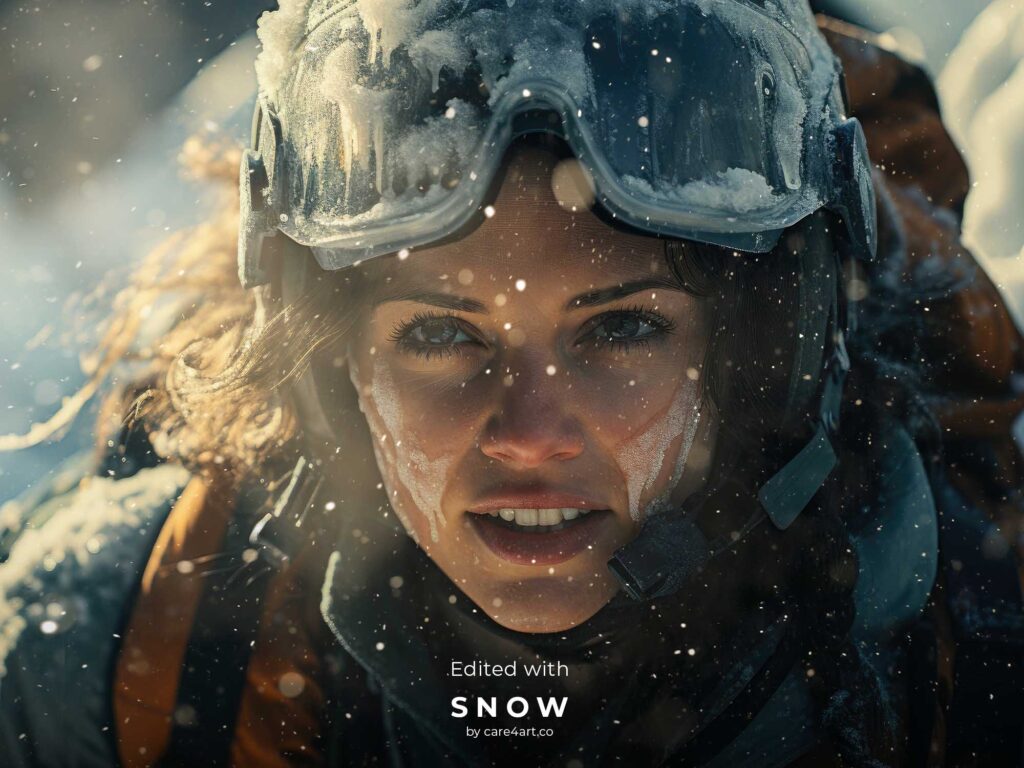
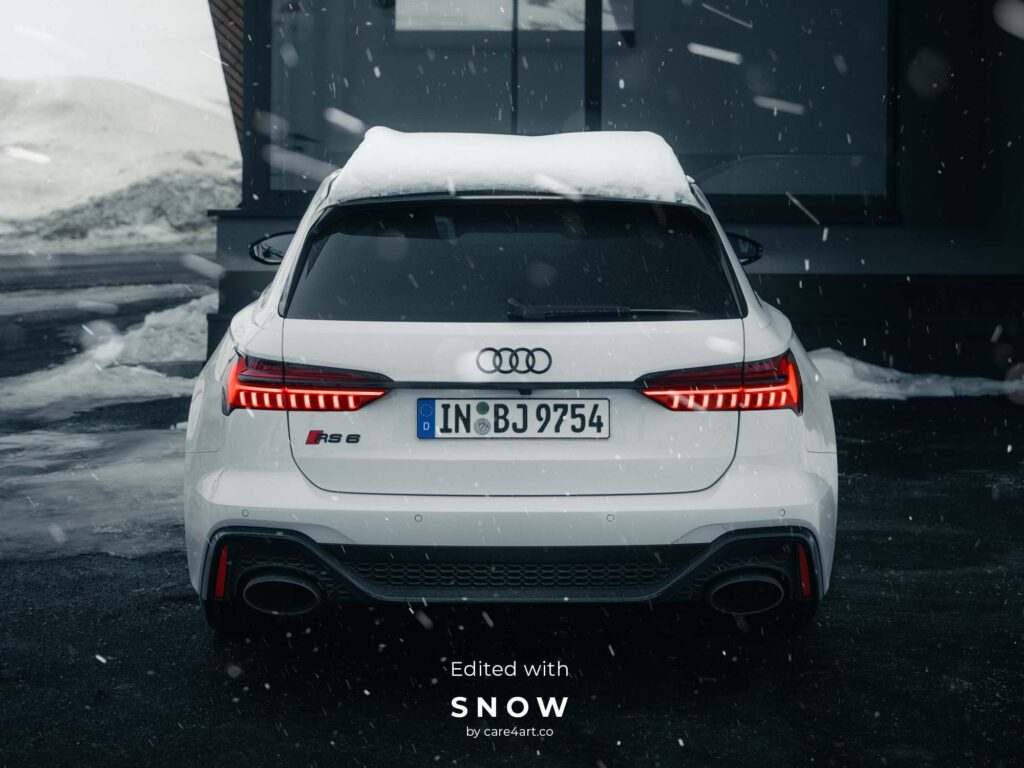
59 optically captured and high quality jpeg overlays + 59 brushes that can be easily imported into Photoshop (or any similar photo editing software). This package includes a variety of overlays & brushes such as light snowfall, heavy snowfall, rapid snowfall and stylized snowfall to give you high quality and ultra realistic results. Soft and feathered edges will make the overlays & brushes work in any position on your photos.

Why get our assets?

All of our snow assets are shot in-house. None of them are 3D rendered, meaning we shoot all assets in real life with real cameras which give them the realistic look. For that, we use the latest pro model cameras, resulting in unparalleled quality and high-res overlays with up to 9000 pixels on the long edge.

Compatible with?

Photoshop CS6 (or newer), Affinity Photo or similar Desktop/Mobile editing software that support different blend modes and Photoshop Brushes. Customer support only available for Photoshop.

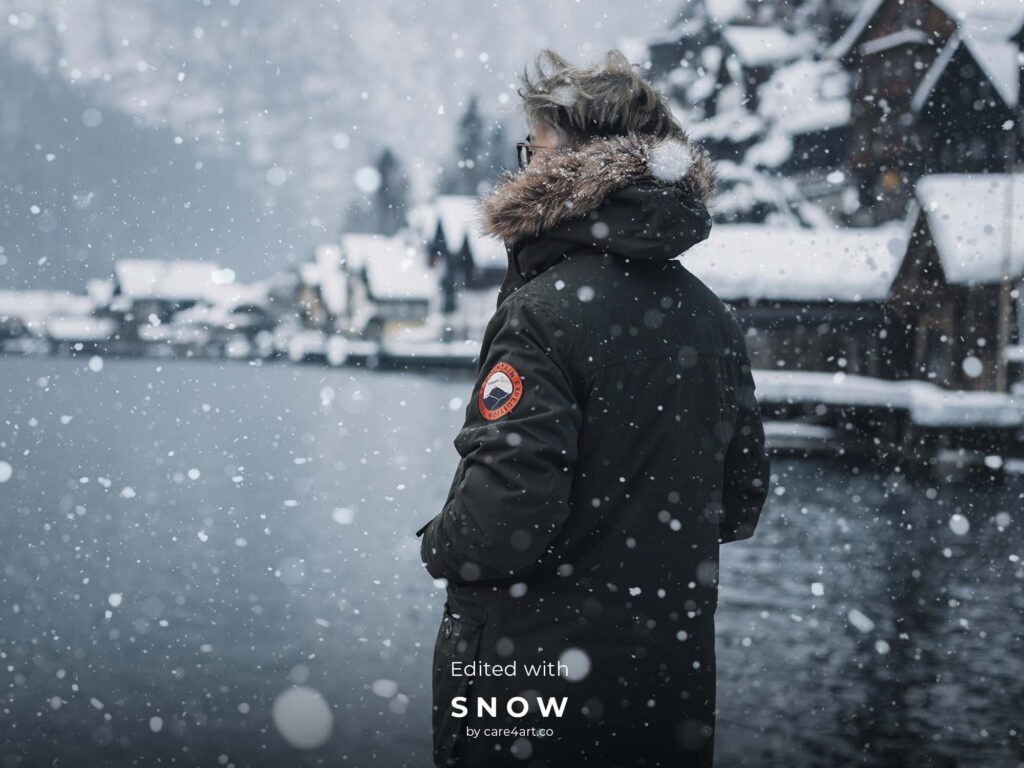
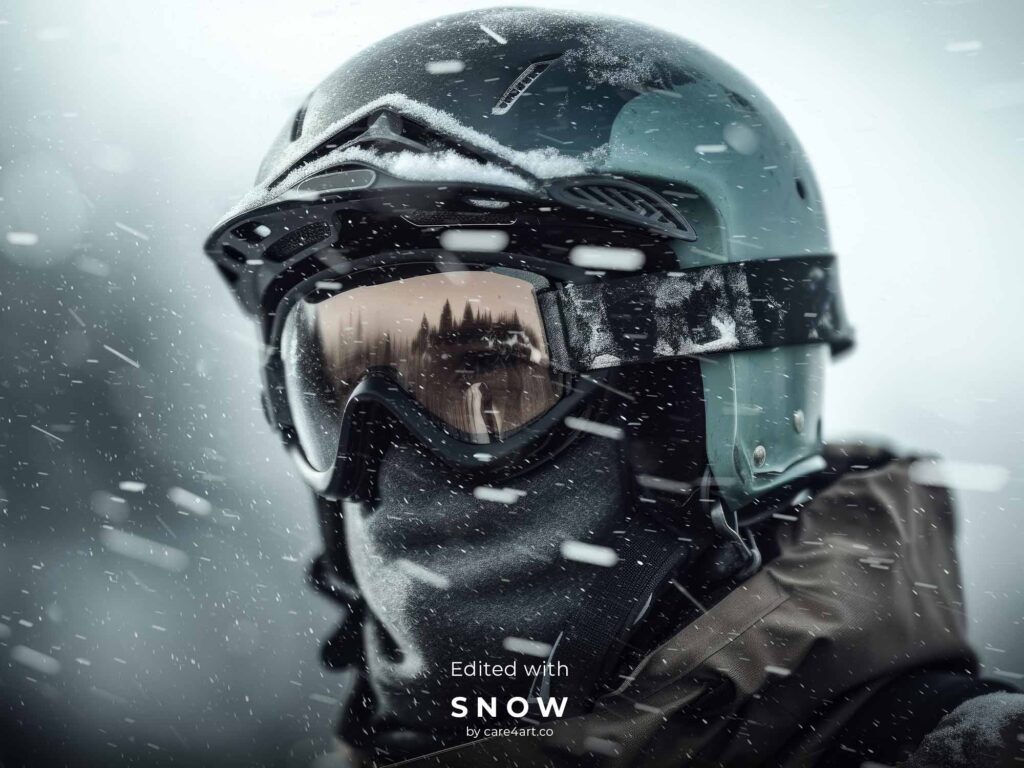
BEFORE & AFTER

See our overlays/brushes in action.

Source Url:

   https://www.care4art.co/products/snow

Photographer:

   Care4art (Julian Herbrig)

DownLoad Link

Alex Noriega – Simplify

Simplify

2023
3 hours 40 minutes
Six Chapters
Download Size: 3.0 GB

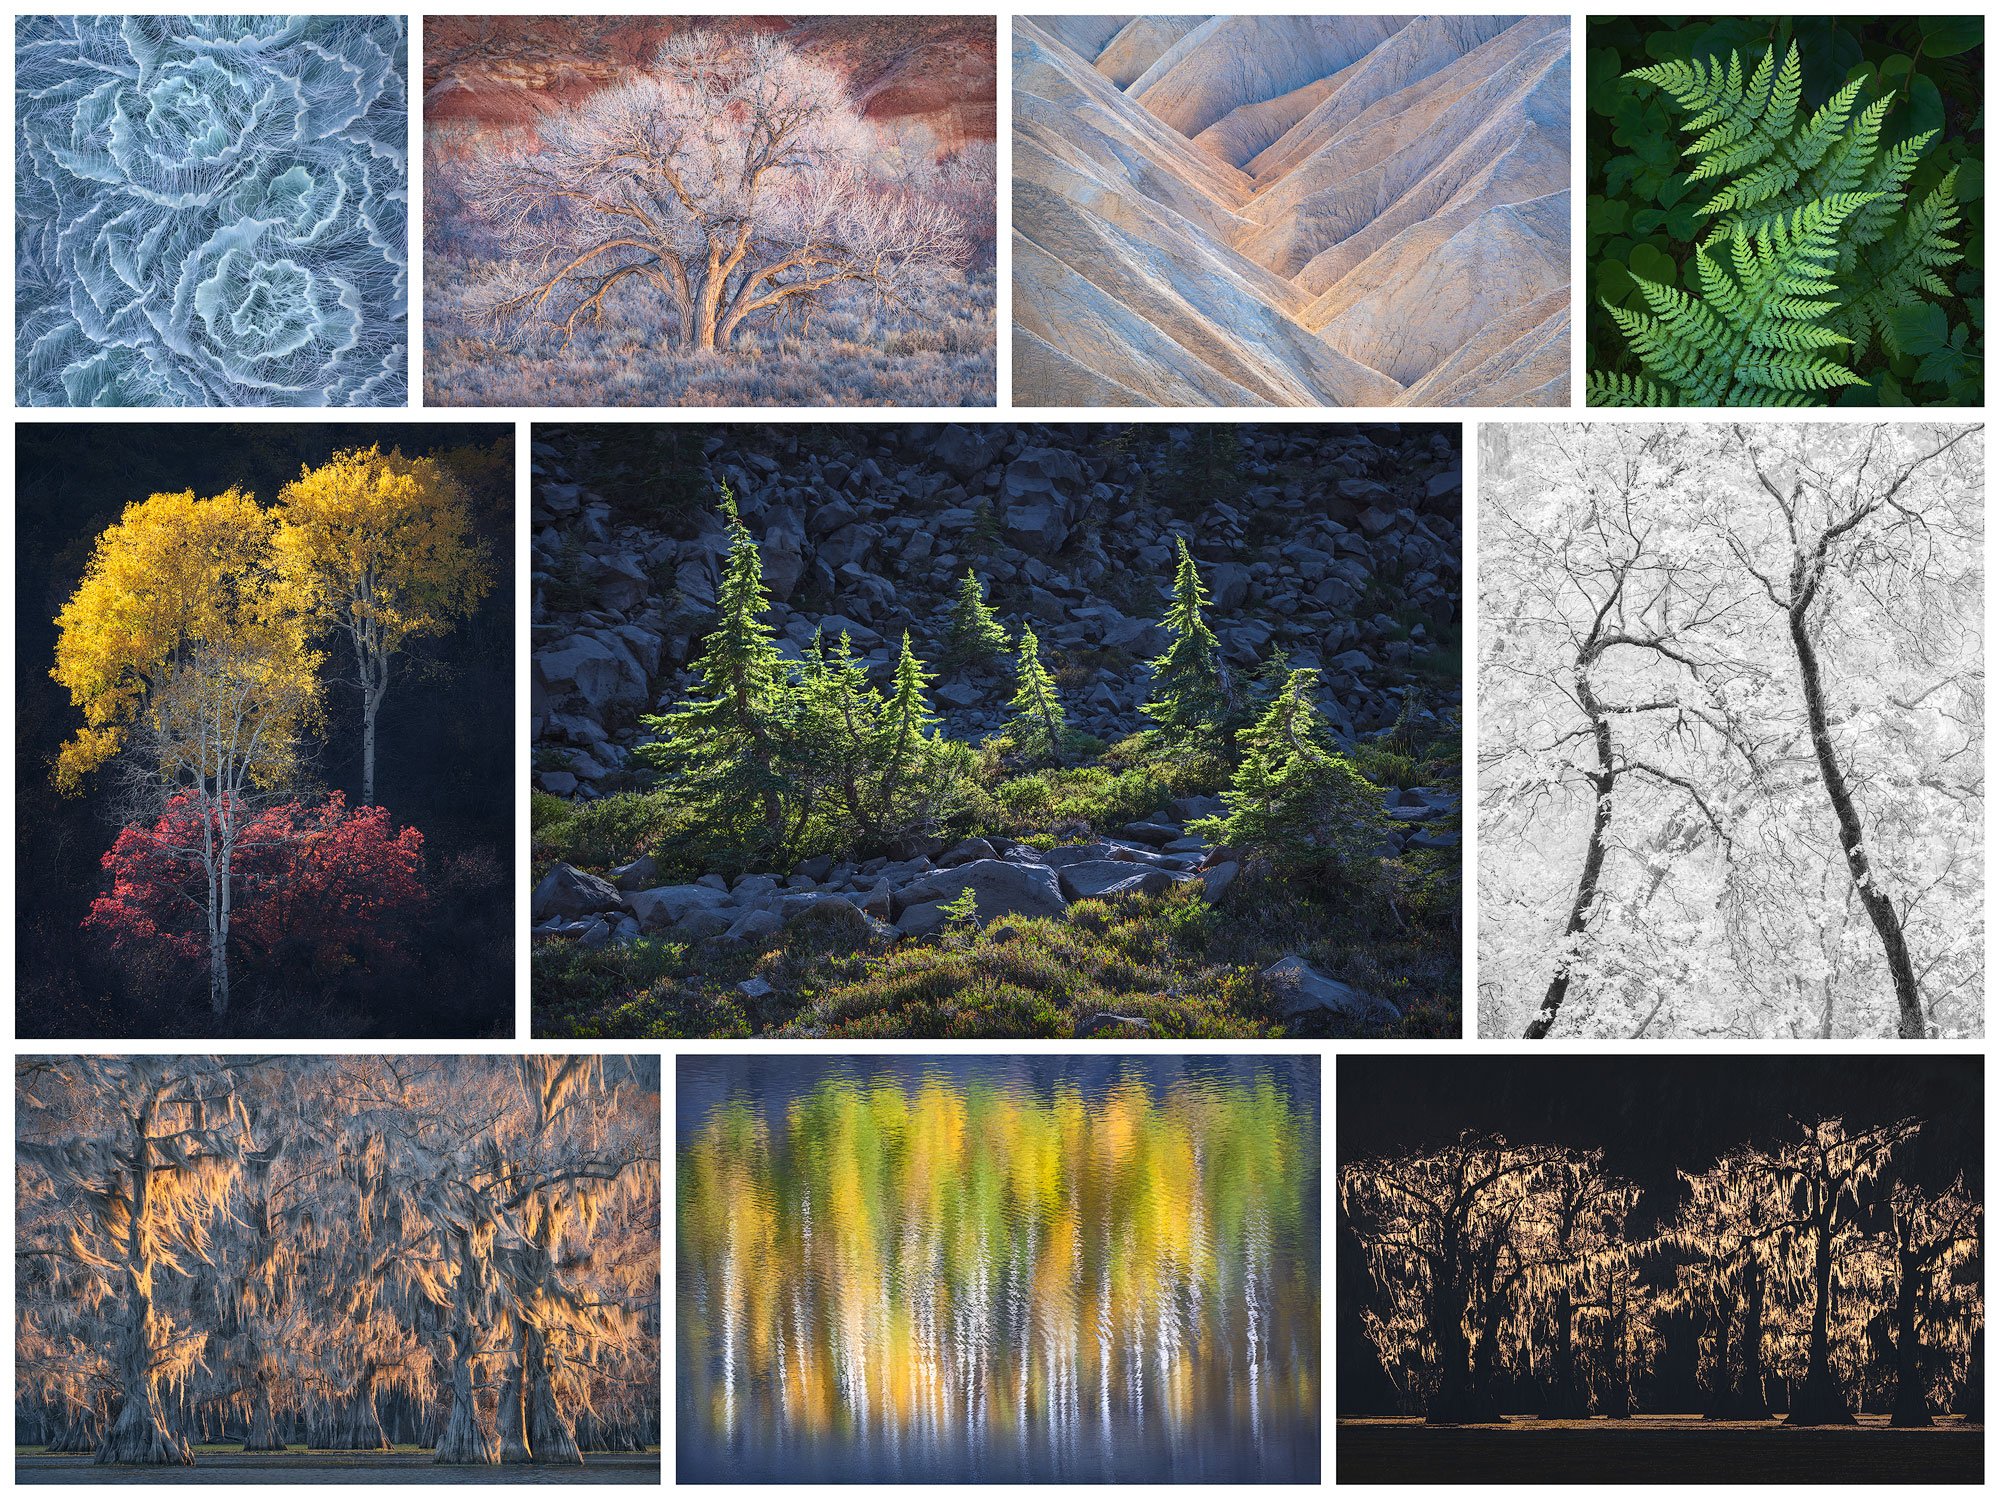
My first tutorial release in nearly four years is all about the one idea that underpins everything I do as a photographer: simplicity.

  • Four chapters demonstrating post-production concepts using 10 different images
  • Start-to-finish processing of my image Kindred Spirits
  • Special chapter on how I find and simplify my compositions
  • Special chapter detailing my curation process
  • Raw and project files included
  • High quality 1440p video
  • Detailed table of contents for easy navigation

If you’ve ever wondered how I approach composition, how I make my images appear so clean, how the subjects stand out so well, or how my collections are assembled, this tutorial is for you.

Source Url:

   https://www.alexnoriega.com/tutorials

Photographer:

   Alex Noriega

DownLoad Link