
Authentic Love Presets TIMELESS Pack
The collection include: 24 presets based on Authentic creative profiles.
Archives: Presets
Presets news and reviews
Authentic Love Presets Pack 03

The collection include: 12 presets based on Authentic creative profiles + 18 CineTouch presets. This collection of 18 additional presets acts as a gentle icing layer on your already applied preset, adding a subtle cinematic ambiance.
Photographer:
Private: Authentic Love MagCinematic Stills – TOKYO STILLS
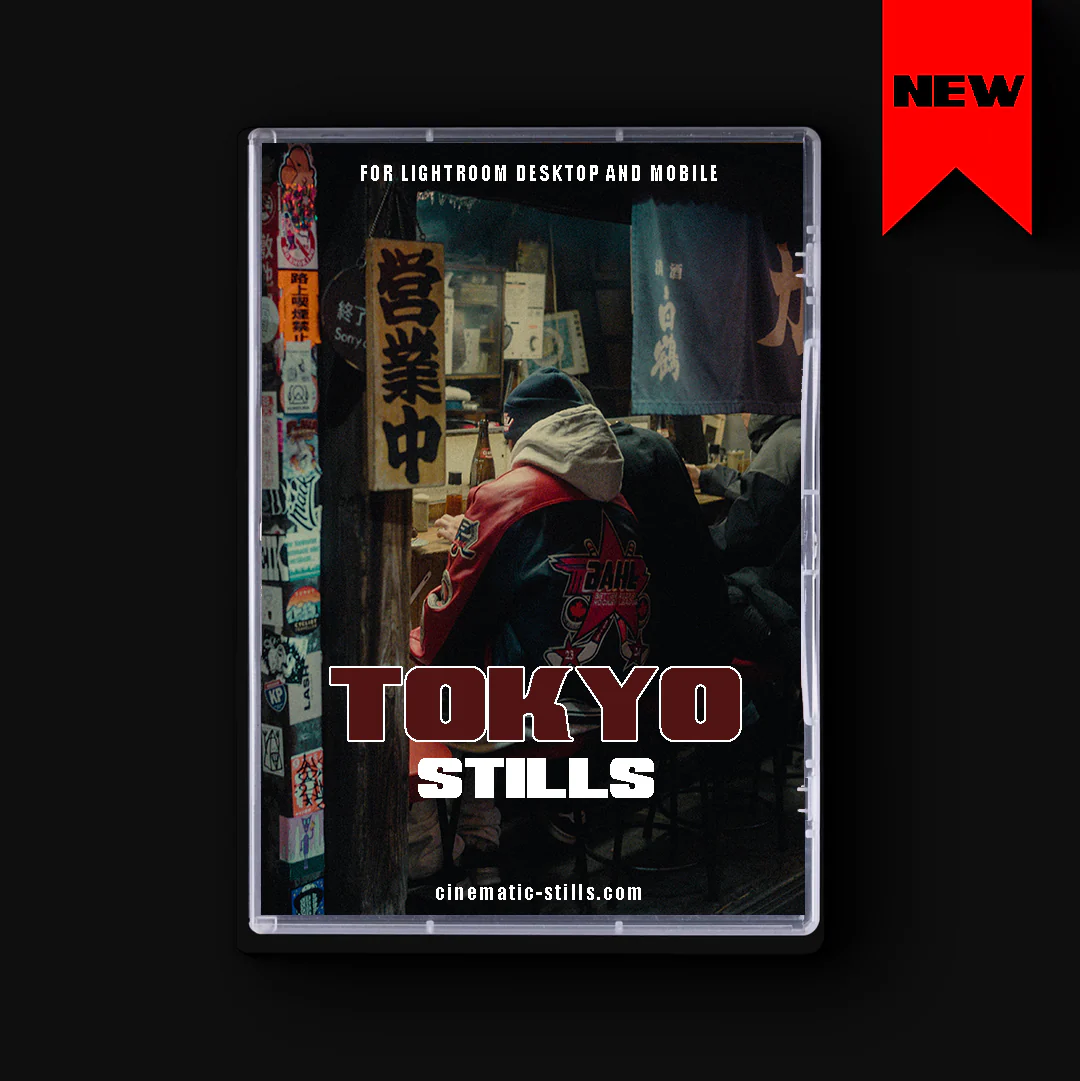
TOKYO STILLS comes with 6 incredible one-click presets that will give your photos a unique retro look.
- file format: .XMP and .DNG
- for: Lightroom Classic, Lightroom CC, Lightroom Mobile, ACR
- tip: update your Lightroom to the latest version to unleash the full potential of these presets
Photographer:
Cinematic StillsJuan Melara – Sony A7SIII, A7IV, FX3 and FX6 to Alexa PowerGrade and LUTs
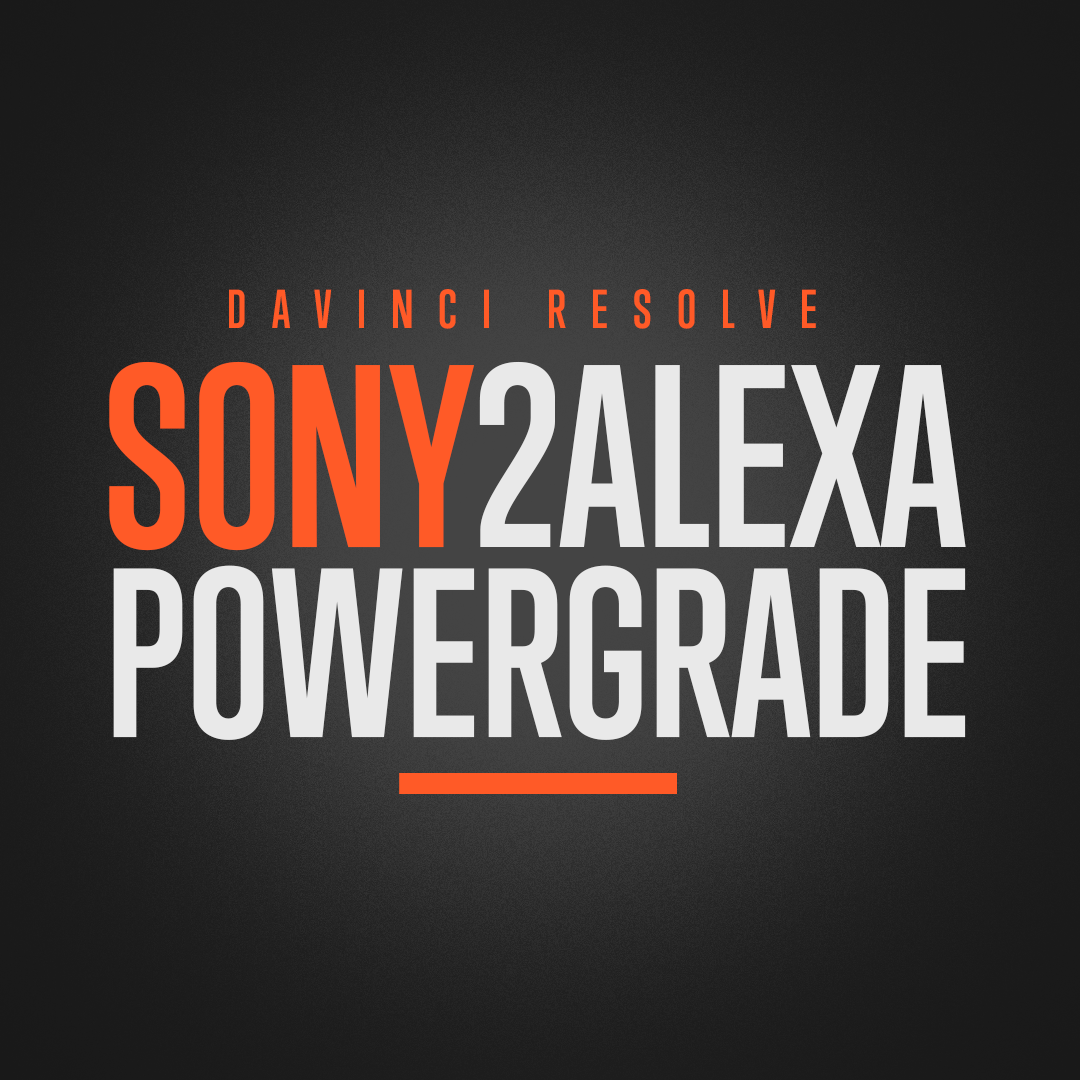
Accurately match the Sony A7SIII, A7IV, FX3 and FX6 to the ARRI Alexa. Available as a LUT, PowerGrade or as a PowerGrade and LUT bundle.
Also works on the Sony FX9. The transform does not produce a 100% accurate match to the Alexa, but it’s still a better start point than Sony’s standard colour science. FX9 samples can be found below.
WHAT’S INCLUDED
LUT VERSION
Sony2Alexa LogC camera match LUT: Transform Sony A7SIII, FX3 and FX6 footage to match the Alexa in its native LogC format. The camera match LUT can be paired with any output transform LUT below. Or any other LUT or PowerGrade designed for the Alexa.
Sony2Alexa A7IV LogC camera match LUT: A new LUT that is the same as the above, but made specifically for the A7IV.
ARRI LogC2Video output transform LUTs: The latest ARRI LogC to Rec709 LUT in three different curves. Standard, Standard V2 and Wide Dynamic Range V2 (WDR V2). Apply these to the output of the Sony2Alexa LogC LUT above to complete the image.
Post-Production Rec709 LUTs: The Sony2Alexa LogC camera match LUT combined with the Standard V2 and WDR V2 Rec709 output transform LUTs above. Created at high quality x65 precision for post-production use.
In-Camera/On-Set Rec709 LUTs: The Sony2Alexa LogC camera match LUT combined with the Standard V2 and WDR V2 Rec709 output transform LUTs created at x33 precision for camera and monitor compatibility. Used to preview the transform on external monitors for the A7SIII, FX3 and FX6. And in-camera on the FX6.
No Snake Oil
POWERGRADE VERSION
Sony2Alexa camera match PowerGrade: Transform Sony A7SIII, FX3 and FX6 footage to match the Alexa. The camera match PowerGrade can be paired with any output transform LUT below. Or any other LUT or PowerGrade designed for the Alexa.
Sony2Alexa A7IV camera match PowerGrade: A new PowerGrade that is the same as the above, but made specifically for the A7IV.
Sony2Alexa RCM PowerGrade: Transform Sony A7SIII, A7IV, FX3 and FX6 footage to match the Alexa in Resolve Color Managed workflows when working in Davinci Wide Gamut / Davinci Intermediate.
Sony2Alexa A7IV RCM PowerGrade: A new PowerGrade that is the same as the above, but made specifically for the A7IV.
ARRI LogC2Video output transform LUTs: The latest ARRI LogC to Rec709 LUT in three different curves. Standard, Standard V2 and Wide Dynamic Range V2 (WDR V2).
In-Camera/On-Set Rec709 LUTs: The Sony to Alexa LogC camera match PowerGrade combined with the Standard V2 and WDR V2 Rec709 output transform LUTs created at x33 precision for camera and monitor compatibility. Used to preview the transform on external monitors for the A7SIII, FX3 and FX6. And in-camera on the FX6.
No Snake Oil
LUT OR POWERGRADE?
If you grade in Premiere or any other NLE, or you just want to apply LUTs to quickly get projects out, the LUT version is the way to go.
If you mainly grade in Resolve, the PowerGrade is the way to go. The PowerGrade gives you maximum flexibility and quality, while also allowing you to make adjustments to the transform.
If you do a bit of both, grab the PowerGrade and LUT bundle.
UPDATE HISTORY
02.11.2022
- New PowerGrades and LUTs made specifically for the A7IV. This should produce improved accuracy when matching the A7IV to the Alexa.
- The LogC LUTs have been re-exported without gamut mapping/saturation compression. This allows you to use all values down to zero, rather than clamping all values below LogC’s black level of 95.
- If you purchased the PowerGrade version, I’ve also included new Resolve Color Managed (RCM) PowerGrades. This allows you to match the Alexa in RCM workflows when working in Davinci Wide Gamut / Davinci Intermediate.
- This is a free update. Get in touch if you have not received an update email. Please include your Invoice number or Stripe/Paypal address so I can track you down in the system.
19.06.2022 Initial release
Photographer:
Juan MelaraJuan Melara – Fujifilm X-H2S to Alexa PowerGrade and LUTs
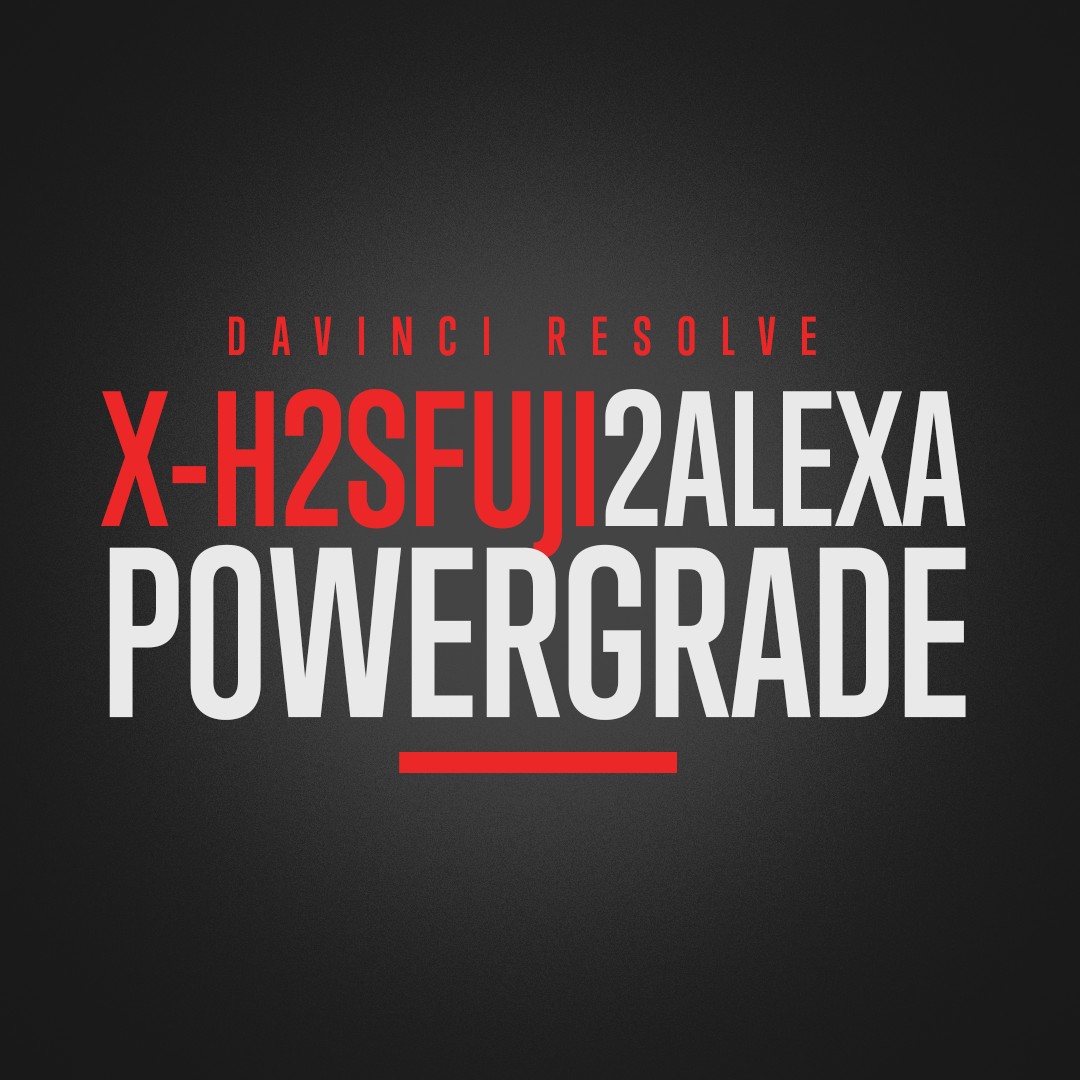
Accurately match the Fujifilm X-H2S to the ARRI Alexa. Available as a LUT, PowerGrade or as a PowerGrade and LUT bundle.
LUT VERSION
X-H2SFuji2Alexa LogC camera match LUT: Transform Fujifilm X-H2S footage to match the Alexa in its native LogC format. The camera match LUT can be paired with any output transform LUT below. Or any other LUT or PowerGrade designed for the Alexa.
ARRI LogC2Video output transform LUTs: The latest ARRI LogC to Rec709 LUT in three different curves. Standard, Standard V2 and Wide Dynamic Range V2 (WDR V2). Apply these to the output of the X-H2SFuji2Alexa LogC LUT above to complete the image.
Post-Production Rec709 LUTs: The X-H2SFuji2Alexa LogC camera match LUT combined with the Standard V2 and WDR V2 Rec709 output transform LUTs above. Created at high quality x65 precision for post-production use.
In-Camera/On-Set Rec709 LUTs: The X-H2SFuji2Alexa LogC camera match transform combined with the Standard V2 and WDR V2 Rec709 output transform LUTs created at x33 precision for camera and monitor compatibility. Used to preview the transform on external monitors.
No Snake Oil
POWERGRADE VERSION
X-H2SFuji2Alexa camera match YRGB PowerGrade: Transform Fujifilm X-H2S footage to match the Alexa. The camera match PowerGrade can be paired with any output transform LUT below. Or any other LUT or PowerGrade designed for the Alexa.
ARRI LogC2Video output transform LUTs: The latest ARRI LogC to Rec709 LUT in three different curves. Standard, Standard V2 and Wide Dynamic Range V2 (WDR V2).
In-Camera/On-Set Rec709 LUTs: The X-H2SFuji2Alexa LogC camera match transform combined with the Standard V2 and WDR V2 Rec709 output transform LUTs created at x33 precision for camera and monitor compatibility. Used to preview the transform on external monitors.
X-H2SFuji2Alexa RCM PowerGrade coming soon.
No Snake Oil
LUT OR POWERGRADE?
If you grade in Premiere or any other NLE, or you just want to apply LUTs to quickly get projects out, the LUT version is the way to go.
If you mainly grade in Resolve, the PowerGrade is the way to go. The PowerGrade gives you maximum flexibility and quality, while also allowing you to make adjustments to the transform.
If you do a bit of both, grab the PowerGrade and LUT bundle.
UPDATE HISTORY
05.06.2023 Initial release
Photographer:
Juan MelaraGamut – Kinetic LUTs

The Kinetic Collection is the perfect LUT pack for filmmakers who want to give their films a more robust color palette. With rich reds, deep blues, and dynamic shadows, this collection effortlessly gives your films an authentic look. The references to classic film stocks make the Kinetic Collection a timeless must-have for any filmmaker.
Source Url:
https://gamut.io/product/kinetic/Photographer:
GamutGamut – Faction LUTs
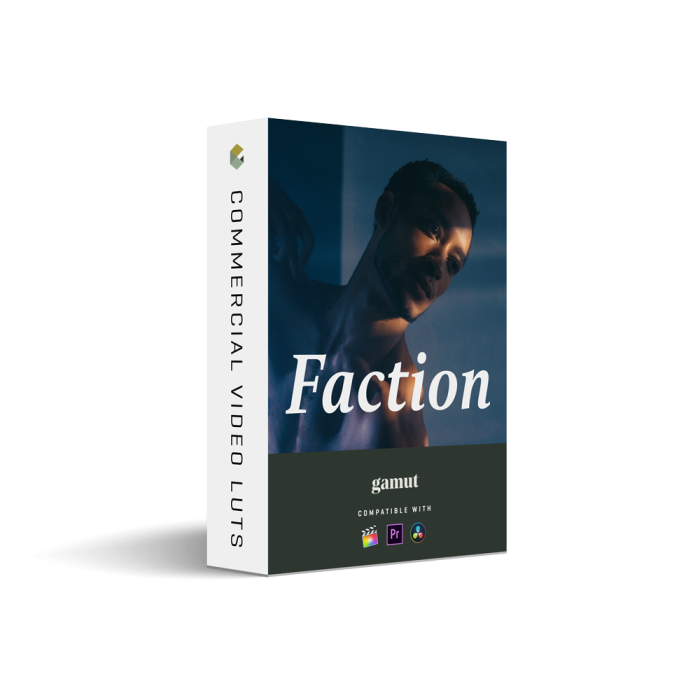
The Faction LUT Collection stands as the ideal choice for filmmakers in pursuit of that quintessential Hollywood color signature. Featuring an innovative spin on the classic Orange and Teal, the Faction Collection presents an array of cool tones that harmonize perfectly with their warm complements. This series effortlessly elevates your films to a cinematic level, offering a vibrant, dynamic aesthetic akin to the iconic visuals of Hollywood’s finest.
Source Url:
https://gamut.io/product/faction/Photographer:
GamutGamut – Sam Newton – Immersion LUTs
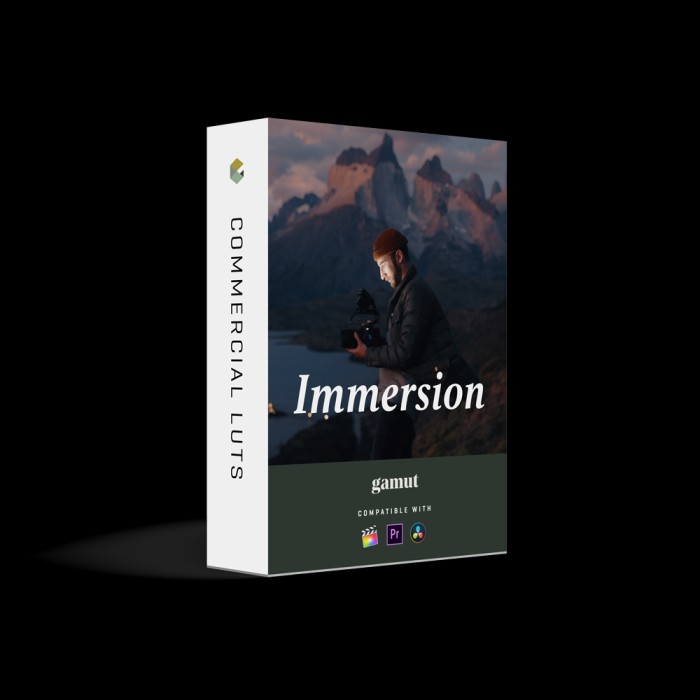
Experience the color palettes used by visionary travel filmmaker Sam Newton with the Immersion LUT Collection. This collection features 5 masterfully crafted LUTs designed to make your footage feel powerful and cinematic while preserving skin tones. While created with travel footage in mind, these LUTs offer limitless customization potential, fusing a bold, cohesive look with unmatched vibrancy and clarity.
Source Url:
https://gamut.io/product/immersion/Photographer:
GamutGamut – White In Revery – Adagio LUTs
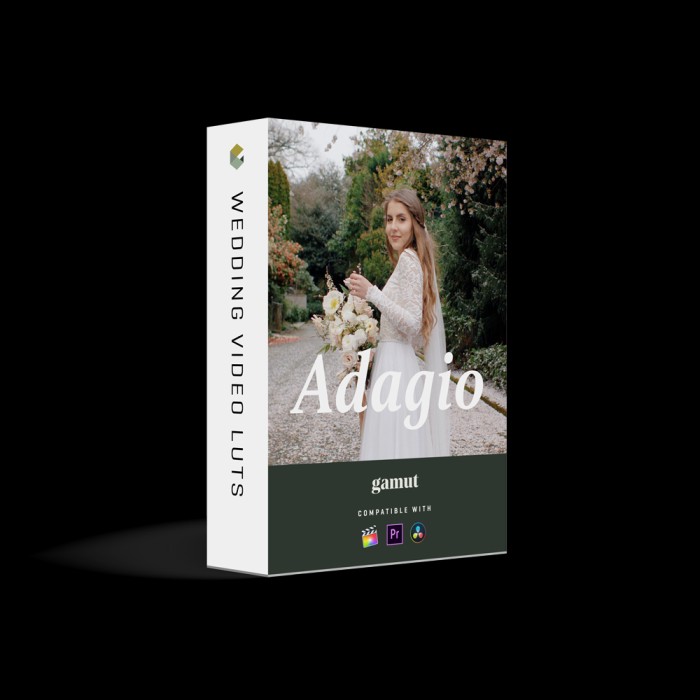
In Adagio, you can expect to find colors that are bright, vibrant, and full of life. While still keeping the whites natural, Adagio incorporates beautiful, blush highlights that give the energy and feeling of classic film stock, like Fuji 400H and Portra 400. These video presets are intended to give your films a luxurious and bespoke color system that is aimed at luxury and destination weddings.
Source Url:
https://gamut.io/product/adagio/Photographer:
GamutGamut – White In Revery – Dolce LUTs
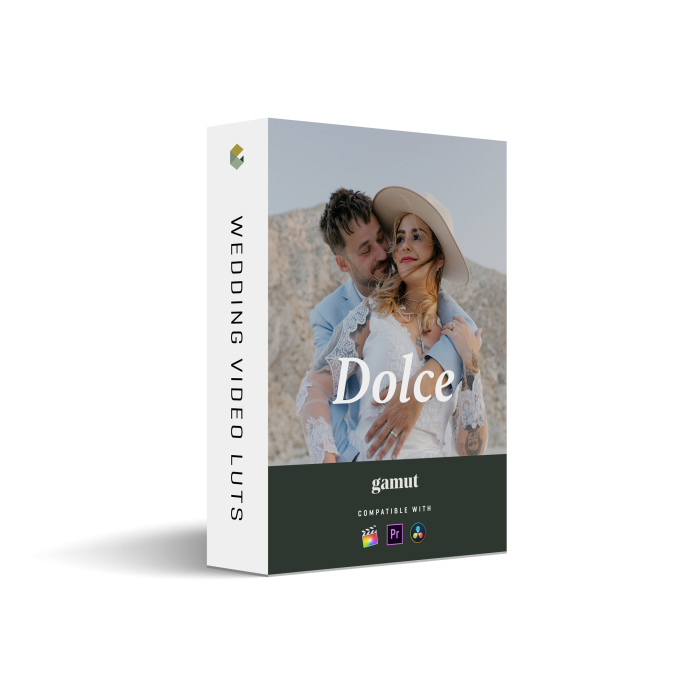
The Dolce LUT Collection consists of color palettes that are designed to be universal and adaptable to any situation or lighting. The skin tones range from warm and vibrant, to cool and dramatic, to blush-inspired, film tones. Our goal with these LUTs is to give you versatility and variety so that you can keep your wedding films color graded in a true-to-life palette, while also having rich, cinematic colors that are bold and iconic.